
Overview:
Installing a TV on a wall may seem like a difficult task, but you’ll realise it’s pretty straightforward to do, and you’ll wish you done it sooner. A TV wall mount is a great way to improve your living space and declutter the area, and it’ll make the room look fantastic. We have written the guide below to suit most situations, TVs and TV wall brackets.
If you haven't found a TV bracket yet, check out our TV Mount Finder Tool to find the perfect TV wall mount solution specific to your TV model and style.

TV Wall Mount with included Fasteners
Power Drill with Drill Bit
Measuring Tape
Phillips Head Screwdriver
Spirit Level
Stud Finder
Masking Tape
Pencil
Eye Protection / PPE
One Friend

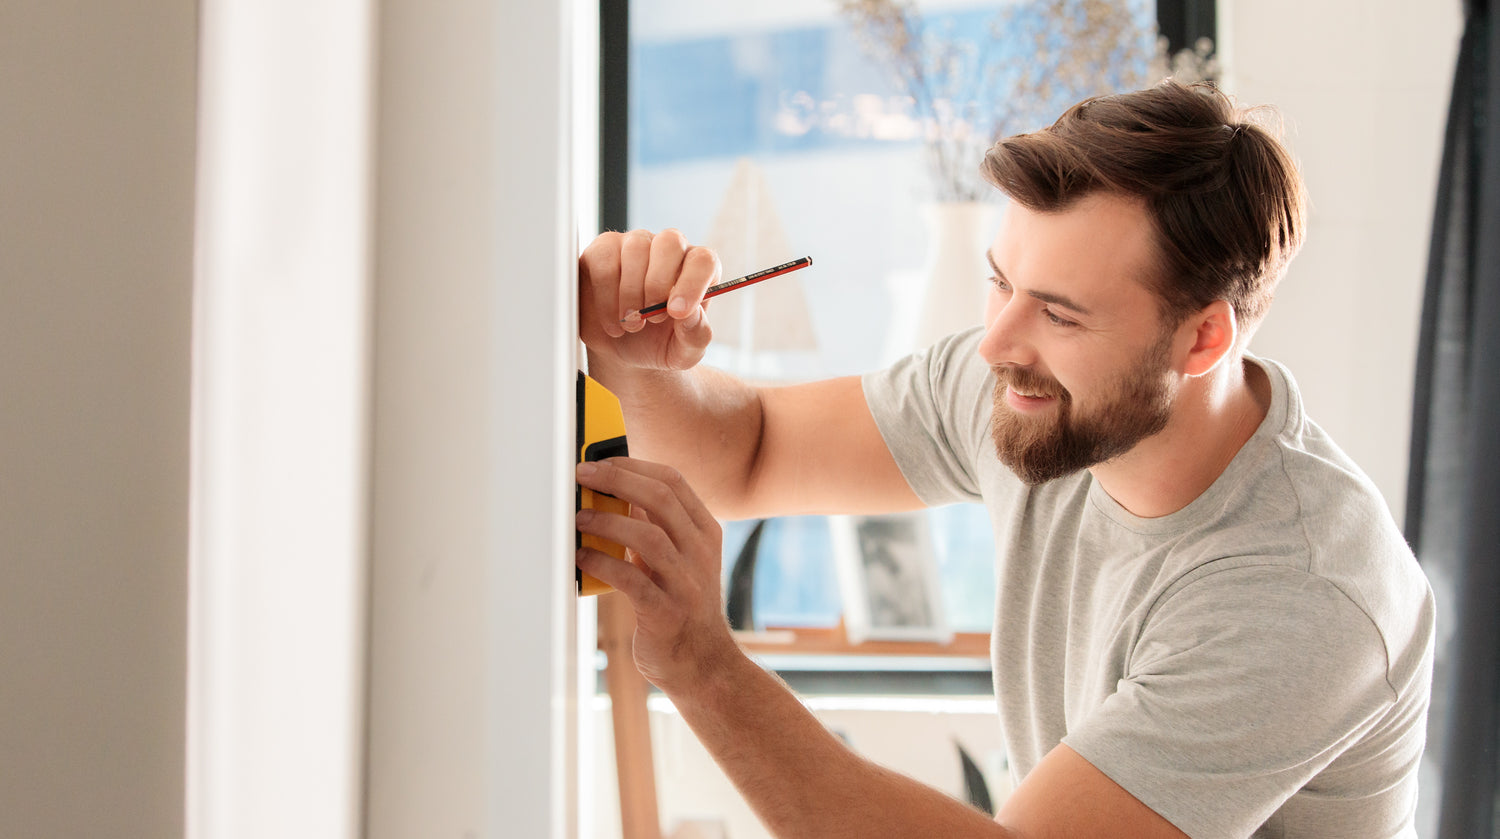
STEP 1 - Determine The TV Height
The first step is to determine the perfect height we want the TV on the wall. To do this, you will need to measure from the ground, 90 degrees up, to your eye line when sitting on your lounge. If you have a friend handy, it’ll be a little easier with them doing the measuring. Take note of this measurement on a notepad. Take note of the size of your TV, the height of the mount, and your furnishings in the area.

STEP 2 - Find The Studs
Now we understand the ideal height we want to place the TV Mount, we need to determine the mounting holes for the wall. If you have a timber frame home, you will have timber wall studs running vertically up your wall, behind the plasterboard. These are typically 450mm or 600mm apart. Once you’ve found the wall studs using a stud finder, place masking tape vertically up the centre of the wall studs and mark the centre with a pencil at the predetermined eye line height.


STEP 3 - Mark The Mounting Holes
Place the wall bracket in the centre of the marks previously made, level it with a spirit level and mark the mounting holes required. The number of mounting holes will be determined by your TV Mount requirements as vertical mounts start with two required, and horizontal mounts may require four or six depending on the size.

STEP 4 - Drill The Mounting Holes
Make sure to put on any PPE and eye protection then using a power drill and a drill bit slightly smaller than your mounting screws (mounting screws provided with the TV mount), pre-drill the mounting pilot holes.

STEP 5 - Mount The TV Wall Bracket
Using your drill or Phillips screwdriver, secure the wall bracket loosely to the wall with one screw. Check again that the wall bracket is level when lined up with the remaining holes. Make corrections if required and then proceed to screw in the remaining mounting screws.


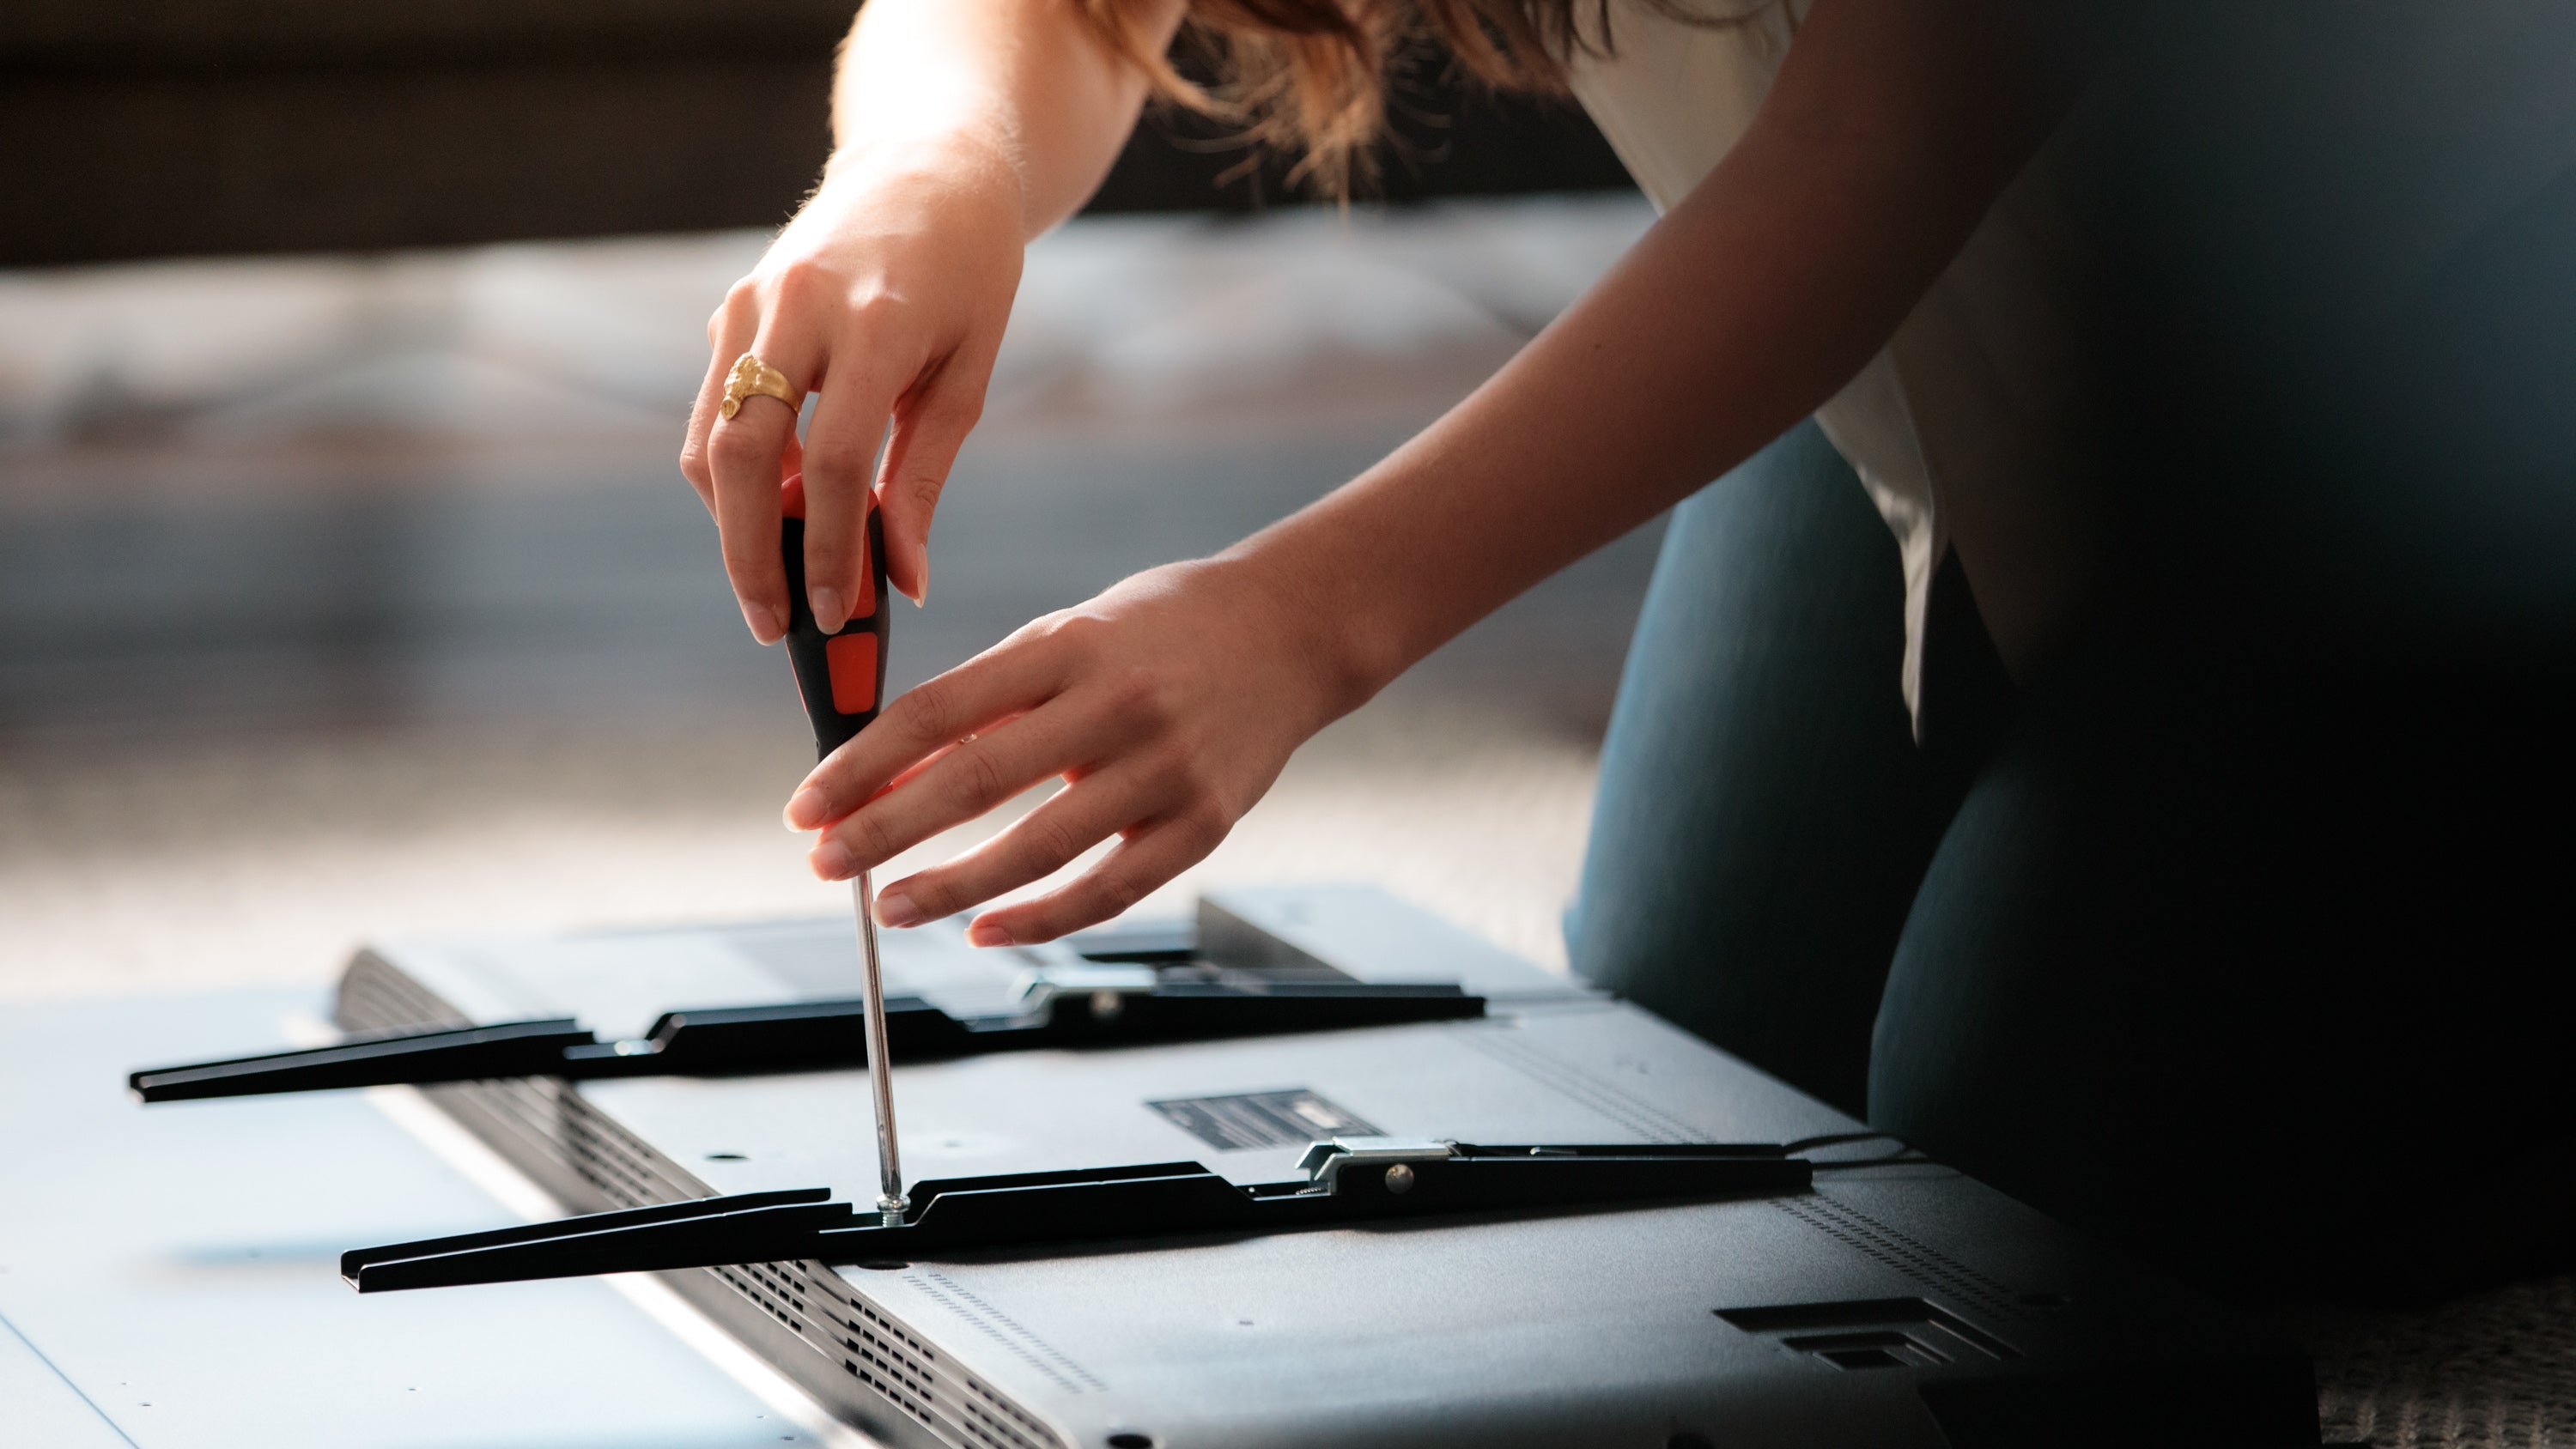
STEP 6 - Attach The TV Arms
Lay your TV face down on a soft surface. Place the supplied TV arms vertically inline of the VESA Pattern. Position the TV arms so that it doesn't protrude past the size of the TV. Ensure that the hooks are facing down. Using the appropriate sized bolts and washers, ensure that these bolts are firmly secured by hand to the TV but do not over tighten them.


STEP 7 - Mount The TV
With a friend, carefully pick up your TV from each side and place the TV arm hooks onto the wall bracket.

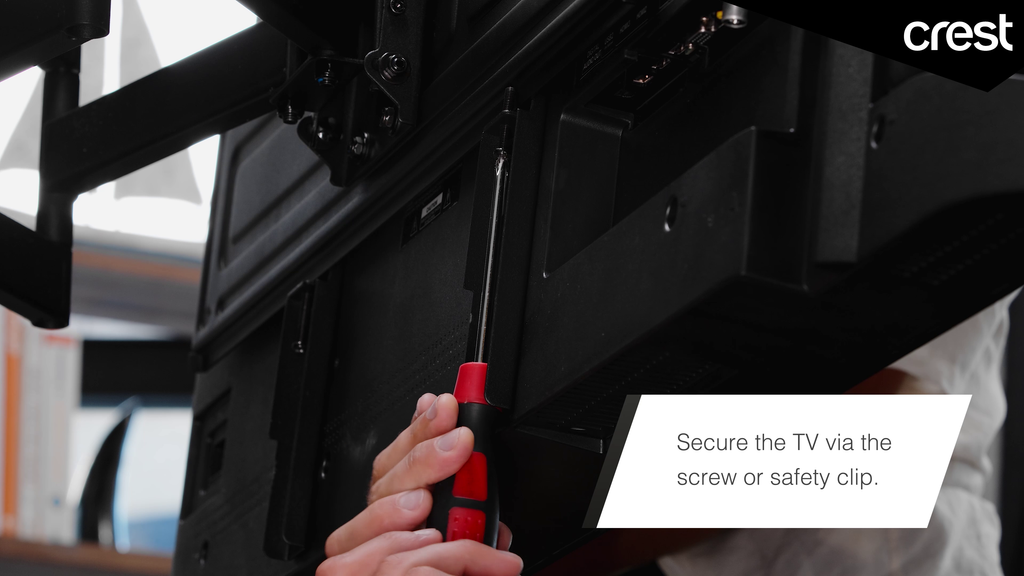
STEP 8 - Secure The TV
The TV arms will have a spring clip that can be clicked into place or have screws that screw into the wall bracket.
STEP 9 - Make Adjustments
If you have a full-motion or tilt motion TV wall mount, you’ll have the ability to adjust the mount. Refer to your user manual to understand how to do this.

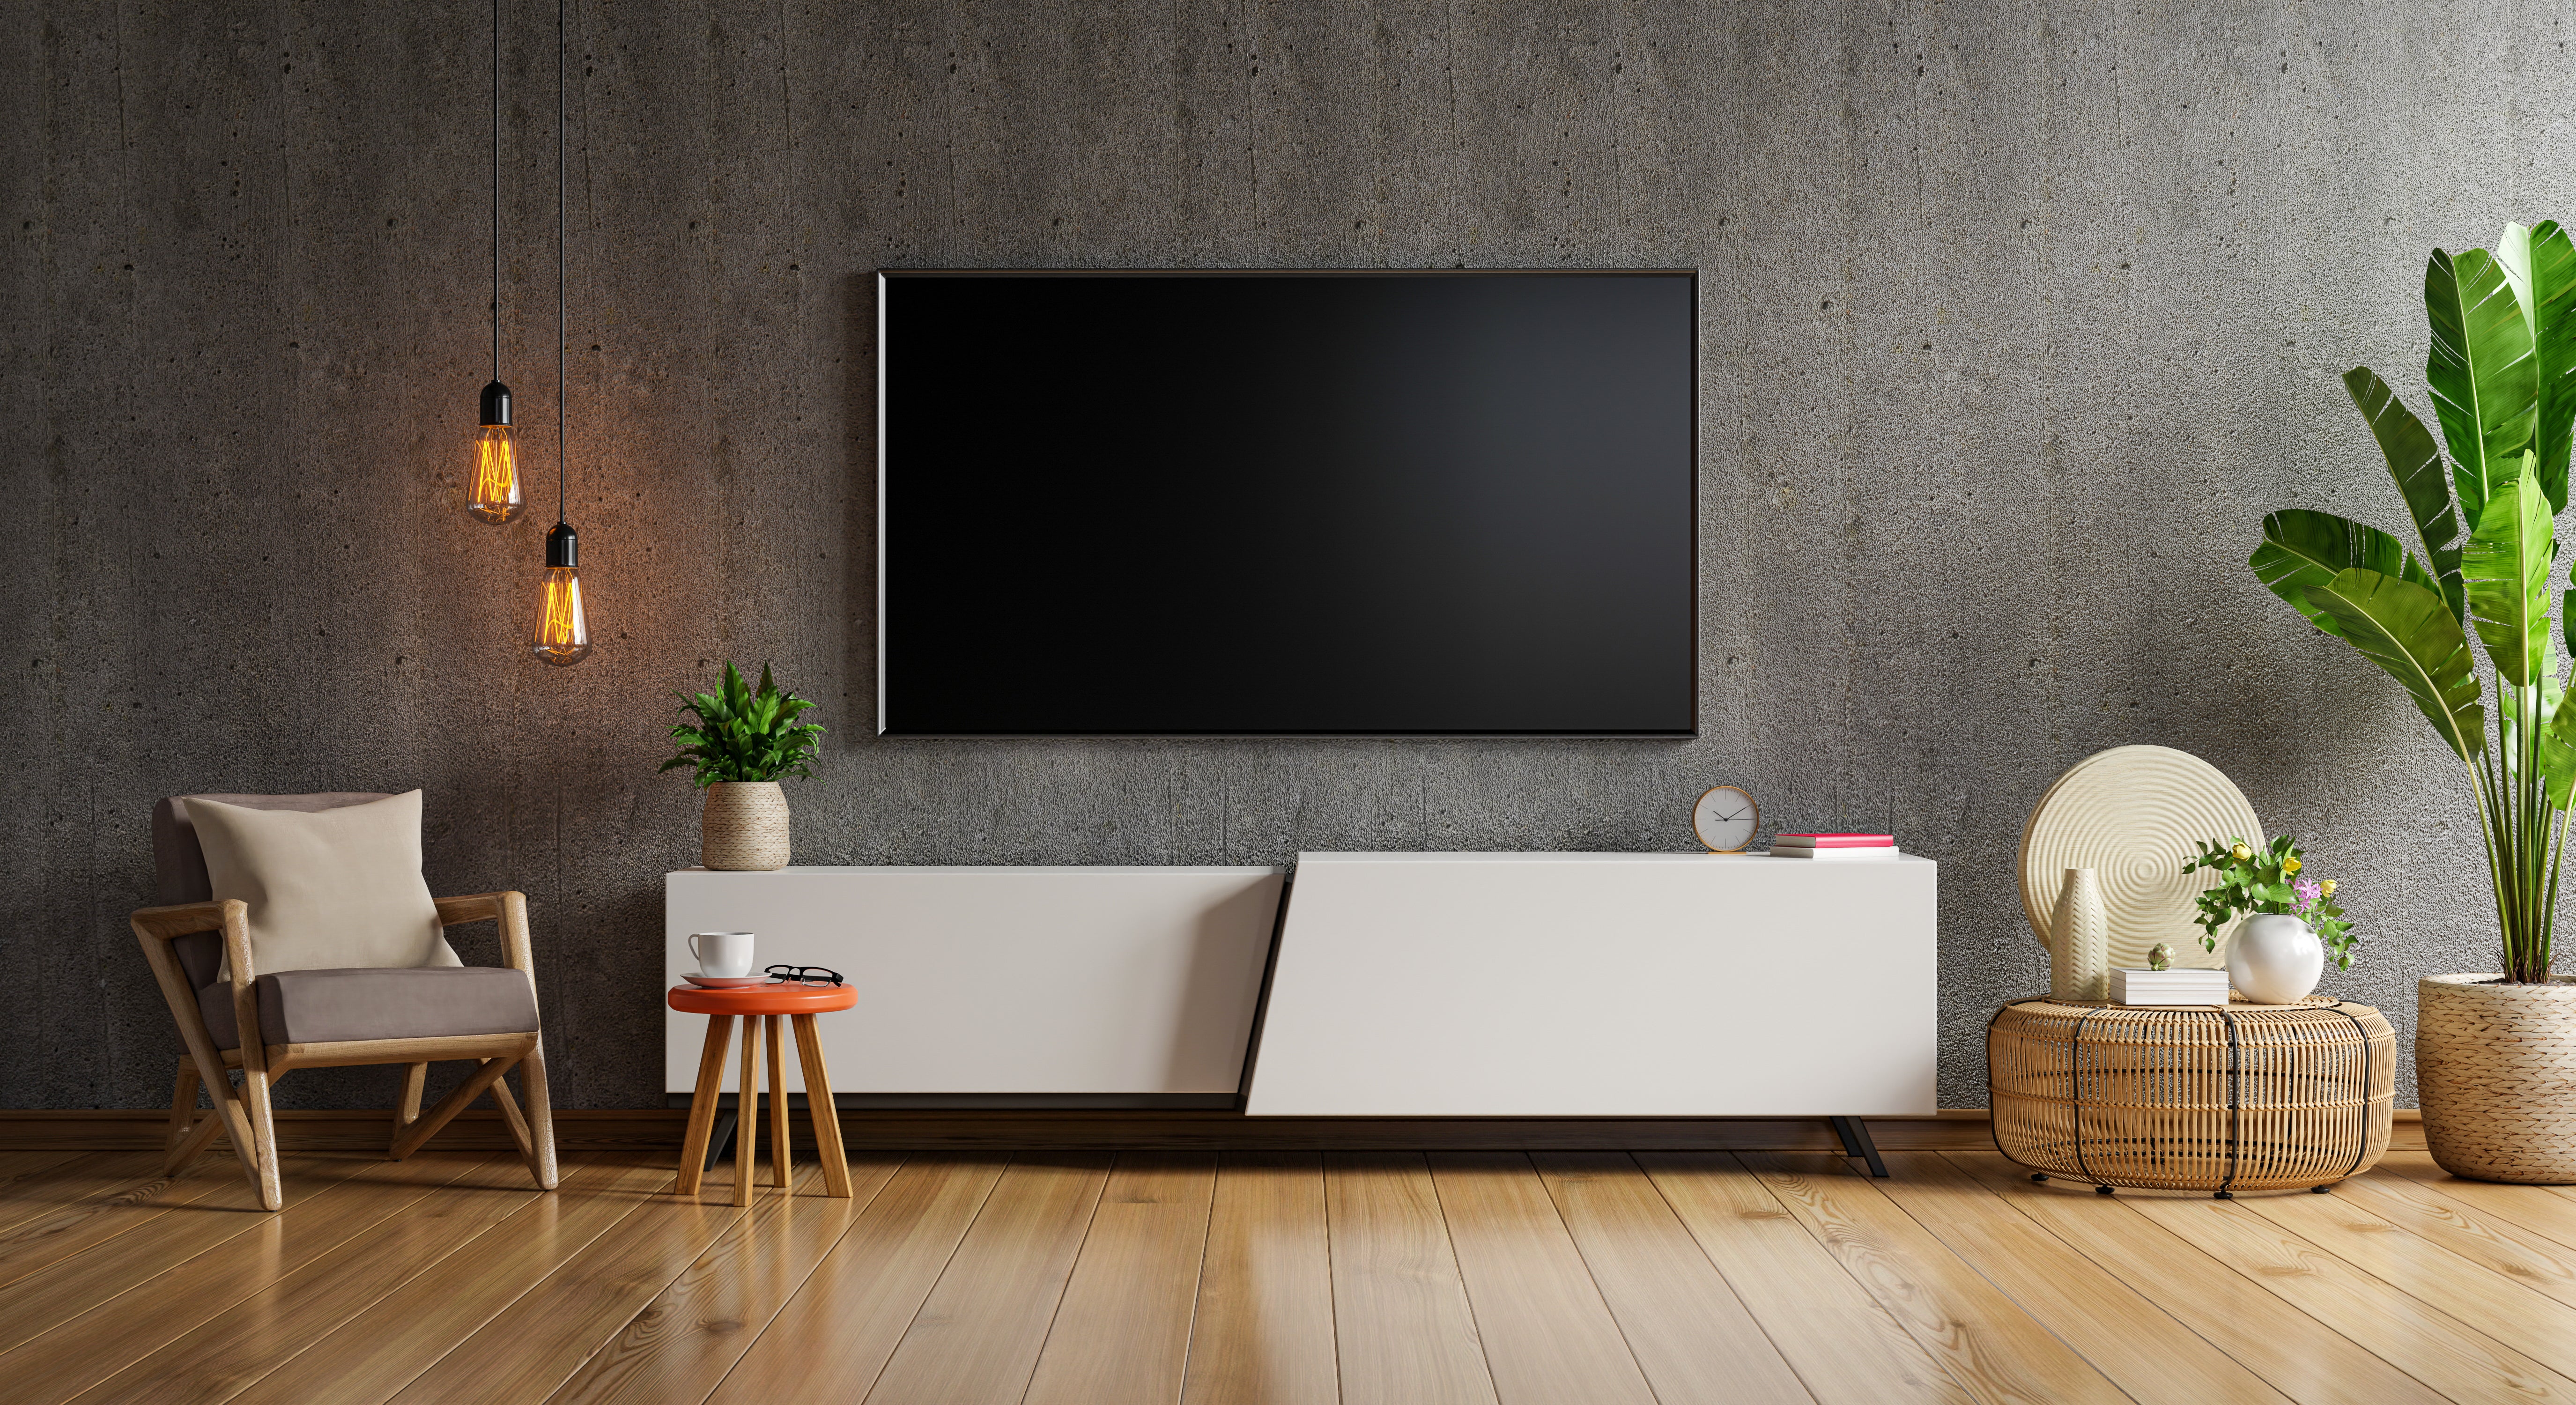
STEP 10 - Enjoy
Congratulations, you’ve successfully mounted a TV to the wall. Hopefully after this exercise, you still have a friend to enjoy it with. Post your accomplishment on Instagram and tag us to share it @thecrestco #thecrestcompany #enhancingdigitallifestyle. We’d love to see how it turned out.

Leave a comment
This site is protected by hCaptcha and the hCaptcha Privacy Policy and Terms of Service apply.